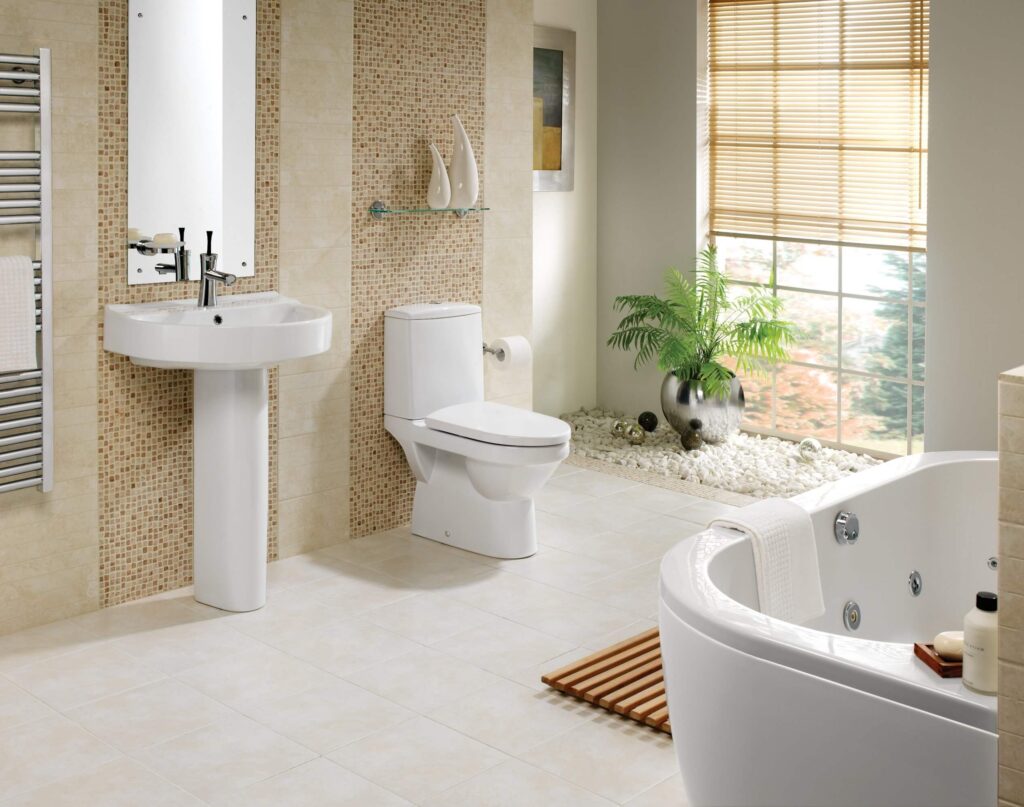
The ultimate guide to deep cleaning your bathroom
simple tips to a super clean bathroom
1. Open the windows
Before you pick up a sponge, open all the windows to let the fresh air circulate.
2. Clear everything
That’s right, everything – from towels, bath mats, shower curtains and liners, to freestanding furnishings, shower caddies and anything on the countertops and shelving. Now you only have clear surfaces to work with.
3. Put on a wash
Toss your shower curtains and liners into the washing machine using regular detergent and a warm and gentle setting, along with your towel and bath mat, which act like scrubbers and prevent the plastic from crinkling. Add ½ cup of chlorine bleach and ¼ cup of detergent to help clear dirt, soap scum and mildew stains.
4. Allow things to soak
Start the deep clean process by pouring a cup of bicarb soda down the toilet bowl. Got rings around the tub? Try placing paper towels soaked with white vinegar on any stains and any hard water or mineral deposits around faucets and drains. Leave for at least 15 minutes before going in for the scrub. A piece of dental floss can help you get into those hard-to-reach crevices.
5. Get scrubbing
Stains, be gone! How you clean your bathtub depends on what it’s made from. For porcelain, you can get away with abrasive powders such as Ajax and scouring pads and pumice stones. If enamel, try bleach-free commercial cleaners. And if acrylic, use white vinegar, soft sponges and other gentle solutions.
6. Don’t forget the shower head
Your shower head can harbour infectious bacteria known as mycobacterium avium, a nasty bug linked to lung disease. To clean, pour a generous amount of white vinegar into a plastic bag and secure over your shower head using a rubber band. Leave it to soak overnight and then remove the bag and rinse in the morning.
7. Don’t forget your toilet brush
Take your toilet brush, place over the toilet bowl and pour bleach over the bristles. Allow it to stand for a few minutes before rinsing it with a cup of cold water. And don’t forget to rinse the canister out with hot, soapy water, too – pouring the dirty water down the toilet and not the sink.
8. Remove the exhaust fan cover
One of the most neglected areas of the bathroom are exhaust fans, despite them being a hot spot for airborne particles. Flip the switch and remove the cover, then soak in warm water and detergent. Wipe the blades and get into the crannies with a stiff paintbrush. Leave to completely dry before reattaching it. And another tip! Always run the fan during and for 30 minutes after your shower to reduce mould and mildew.
9. Sweep the floors
Dry sweep the bathroom floors to clear dirt, dust, hair and other bits and pieces you’d rather not swish around as you clean. Make sure you clean from top to bottom so any debris that falls will be wiped away.
10. Wet wash the floors
Use a wet cloth, if your bathroom is small, or a mop if big. Work from the far corner toward the door. Leave to dry before you enter again to place everything back.
11. Steam clean the walls and ceilings
Spray walls and ceilings with all-purpose cleaner, then blast hot water in the shower and close the door, allowing the steam to build. Leave to steam clean for 20 minutes before wiping down all the surfaces with a clean, dry microfibre cloth. And don’t forget to wipe the towel bar with an all-purpose cleaner – it tends to harbour a lot of bacteria.
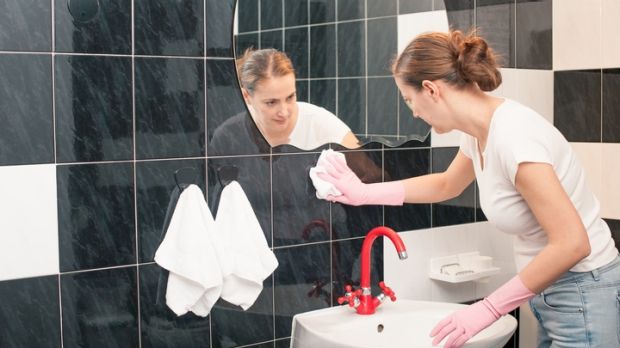
12. Get a shiny, fog-free mirror
To clean your mirror (and any glass surface, for that matter), use coffee filters soaked in window cleaner or white vinegar. They’re cheap – and won’t leave any streaks or lint. To keep it fog free, rub a dry bar of soap onto the surface and buff it with a clean microfibre cloth until you can no longer see any marks.
Your Lazy Day Guide To Cleaning
Life is busy, and sometimes we just don’t have the energy, time or desire to give our homes the attention they deserve. That’s why lazy day cleaning tips can really provide a lifeline. By cleaning a little every day, or just doing the bare minimum, life’s messes tend not to be so messy when the times does come for a real, deep clean. Try these handy hacks to keep your home tidy all week long.
Do one chore first thing in the morning.
Make your bed, gather all your dirty laundry or clear the table; choose one chore that’s going take two minutes or less. You’ll not only cross one chore off your list, but you’ll set a great tone for the day.
Prioritize.
Decide which rooms you need to focus on first – usually the kitchen, main bathroom or living room – and forget about the ones no one will see. Your task will seem way more attainable and if you finish up the mains quickly, you can always tackle those low-priority rooms.
Clean for a set amount of time.
Tell yourself you’re going to clean for 15, 30, 45 minutes and stick to it. Put down the phone, turn off the T.V. and throw your energy into your task list. This is a great motivator for those that aren’t sure when they’re “done” or for those that lose focus.
Start the day with an empty dishwasher.
Run your dishwasher after dinner and unload it before you go to bed. Dirty dishes immediately go into the dishwasher throughout the day, instead of the sink or stacked on the counter.
ultimate guide to deep cleaning your bathroom
There’s nothing quite like a sparkling, pristine bathroom, after all, it is where you get clean. But how exactly do you give it a professional clean? Running a squeegee down the sides of the shower does a great deal of good, but every now and then a proper deep clean is in order
Wipe the windows – reaching every corner
A steam cleaner works wonders on the rubber sills and tracks of your windows. A couple of blasts with the steam, followed by a wipe down with a paper towel, will work wonders. If you don’t have a steam cleaner, try applying a paste made from bicarb soda and white vinegar, leaving it an hour, and then scrubbing it using a toothbrush.
Toss out any unnecessary products
Worried to see what lurks under your sink? Time to give it a good clean out! Consolidate products, toss out what you don’t need and put items back on a shelf liner.
Keep it up
Daily once-overs – wiping down the condensation from your shower and mopping the floors, for example, will take the pain out of your next clean, trust us!
Post Lockdown Cleaning and Disinfecting
In light of the government’s revised guidelines for a phased approach to reopen closed businesses, following the Coronavirus lockdown procedures, we have created a range of documents to help and guide our customers and product users.
The government’s task forces are looking at sectors including pubs and restaurants, recreation and leisure, places of worship and schools. The existing measures in place will be constantly under review and will be monitored so the spread of the virus is controlled.
If a business, or school, is to reopen, there are considerations relating to social distancing, more frequent disinfection of hand-touch surfaces and, of course, hand hygiene. Employers may need to update their risk assessment relating to any products used in the control of Coronavirus
Research has shown Coronavirus is able to survive in the environment on surfaces, e.g. wood, plastic, glass and cardboard, from between 24 hours and 9 days (dependent on conditions e.g. temperature and humidity). If a building has been closed for the duration of the lockdown period, it is unlikely any virus would be present on surfaces. However, for staff, customer and pupil confidence it may be advisable to follow existing hygiene programmes for cleaning and disinfecting all surfaces.
Below you will find links to our Coronavirus guides and related wallcharts. Please follow the instructions and recommendations in these documents, paying particular attention to dilution rates/contact times and any safety advice.
Cleaning and disinfection
General guidelines for cleaning and disinfecting
The following general guidance applies to cleaning areas soiled with faeces or vomit during an outbreak. The environmental surfaces need to be cleaned free of vomit or faeces using a neutral detergent and warm water prior to disinfecting with bleach solution.
Clean soiled areas
Isolate the area where a vomiting or diarrhoea incident has occurred.
Wear disposable gloves and a mask.
Absorb and remove as much of the vomit/faeces as possible with disposable paper towels or disposable cloths.
Discard the disposable paper towel or cloth into a leak proof plastic bag.
Clean soiled areas with detergent and warm water using a disposable cloth and discard immediately into a leak proof plastic bag.
Discard used gloves and apply clean gloves before disinfecting the soiled areas.
Disinfect soiled areas
Use freshly-made bleach solution and follow manufacturer’s instructions for appropriate dilution and use (see below for dilution instructions).
Wipe the area with bleach solution with disposable paper towels or a disposable cloth.
Dispose of gloves and mask in a leak proof plastic bag.
Wash hands thoroughly using soap and water and then pat dry using a disposable paper or single cloth towel. If water is unavailable, decontaminate hands using an alcohol-based rub or gel.
Preparation of disinfection solution
Household bleach comes in a variety of strengths of the active ingredient—hypochlorous acid—and you can find this information on the product label.
Note:
When a disinfectant is required for cleaning, the manufacturer’s recommendations for use (usually written on container) and occupational health and safety instructions (in workplace handbook on OH&S for hospitals) should be followed.
Gloves should be worn when handling and preparing bleach solutions.
Protective eye wear needs to be worn in case of splashing.
Bleach solution should be made up daily.
Bleach should be used mainly on hard, non-porous surfaces.
Bleach can damage textiles and are corrosive to metals.